This is an inspiration to a one-day journey to Whistler from late spring to early fall, and particularly between the months of June and September when one can experience the season known as “Whistler in Summer”. This article includes a comprehensive A to Z guide to riding the trio of three gondolas, including the iconic and Guinness Book of World Record holder Peak 2 Peak. Once we’ve crossed over the mountains, we will take the chairlift to experience the thrills of walking across the Cloudraker suspension bridge.
Table of Contents
- Getting There
- Alternatives to Driving
- Upper Village
- Upload
- Peak 2 Peak
- Whistler Mountain
- Cloudraker Skybridge
- Download
- Optional Adventures
- Conclusion
Getting There
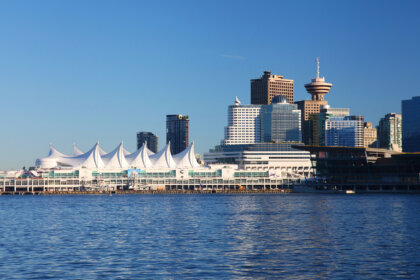
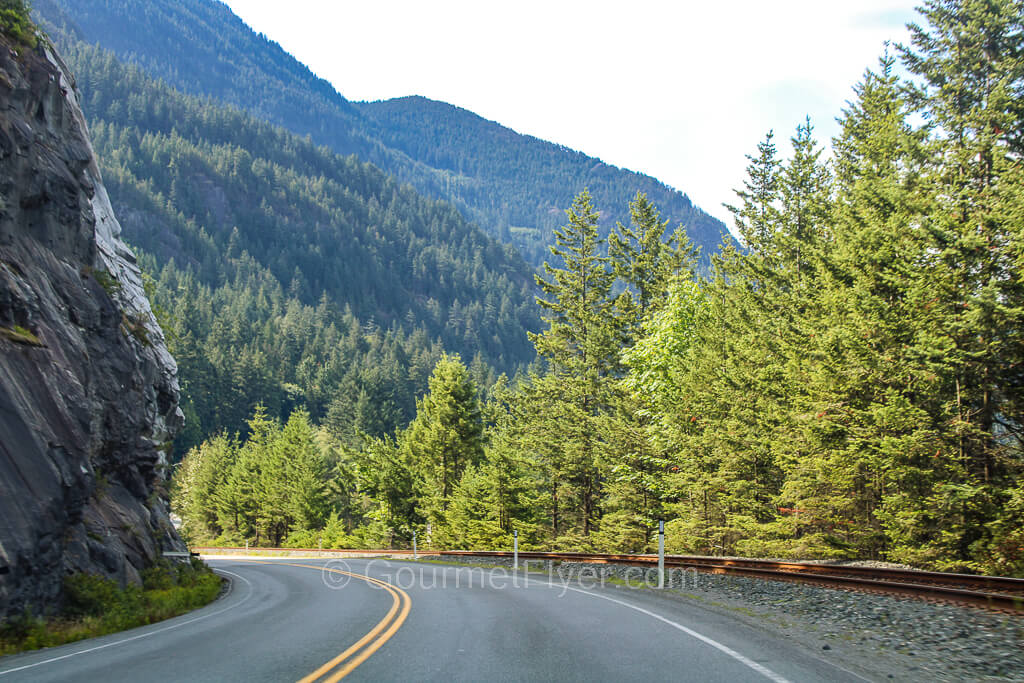
If you are coming from Vancouver, it’s about 76 miles (122 km) from the city center and the drive takes about two hours. Part of the route is quite curvy and sometimes uphill, so you can’t go very fast. And there are stoplights along the way, too. From October 1 to March 31 snow tires are required, and depending on the weather conditions, the drive could take much longer.
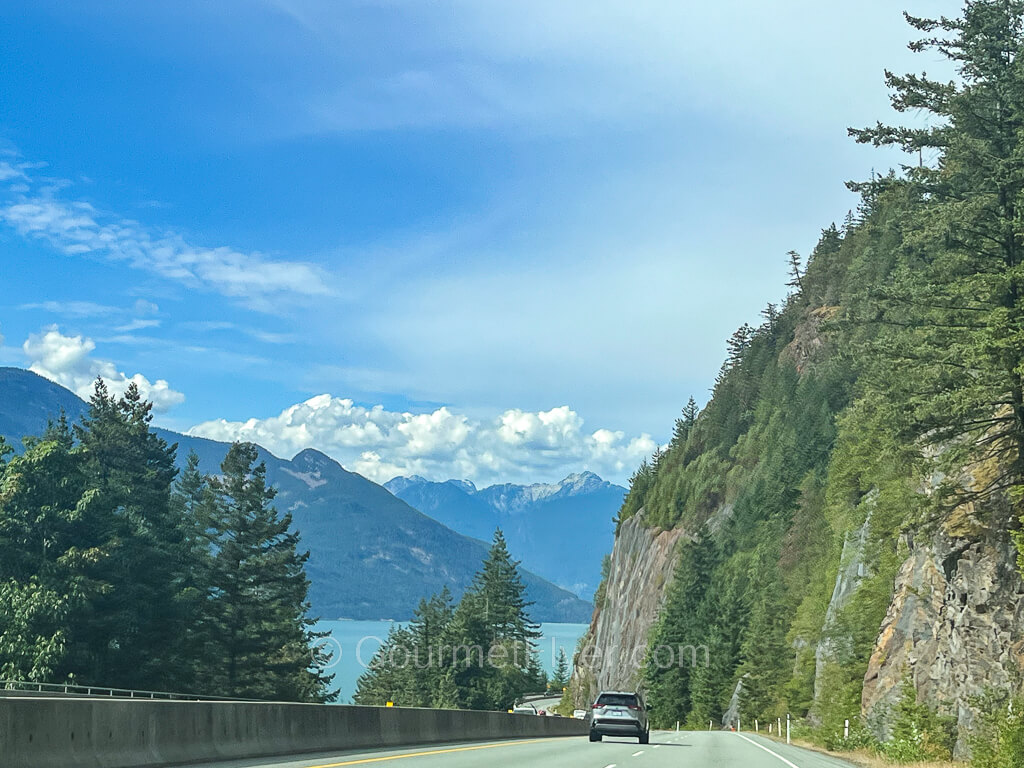
The drive along BC-99, also known as the Sea to Sky Highway, is one of the most scenic drives along the west coast of Canada. There are many gorgeous photo spots so the passengers should get their cameras ready to snap those Instagram worthy moments.
The city of Squamish is the approximate halfway point of your drive and is a perfect place to take a short break if needed. Shannon Falls, which plummets a stunning 1,100 feet is the third highest waterfall in British Columbia. It is just a short hike from the Shannon Falls Provincial Park and is a great spot to stretch your legs.
The Sea to Sky Gondola is a destination in itself but if you are going to ride the Peak 2 Peak, you will have a much more exciting adventure in Whistler. Another option is to explore the quaint downtown area of Squamish and enjoy its street art, farmers market, as well as shops, cafes, and restaurants. If you just want a very quick break, there is a MacDonalds, A&W, and Starbucks right at the intersection of Cleveland Avenue and the highway.
Alternatives to Driving
If you want a stress-free trip and would like to soak in the breathtaking “sea to sky” scenery rather than taking the wheels, there are a few options available. Moreover, if you are staying multiple nights, a car really isn’t necessary once you’ve reached the village, and parking is very expensive at most hotels or lodges.
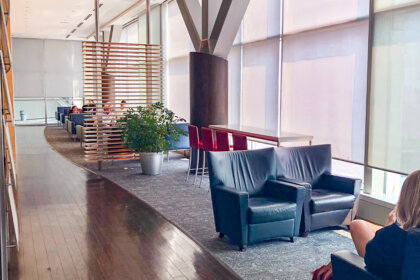
There is an express shuttle service at Vancouver International Airport (YVR). The meeting point is right outside the arrivals area of the airport and the shuttle takes you directly to Whistler Village. This is an express service which does not make stopovers in downtown Vancouver. For more information on the airport departure, go here.
If you are in downtown Vancouver, there is a deluxe coach service that leaves the city center for Whistler with a stopover in Squamish. The air-conditioned bus is equipped with on-board restroom and also provides free Wi-Fi. For more information on the downtown departure, go here.
If you would like to bundle your trip with a sightseeing component, the Sightseeing Tour from Vancouver takes you to Whistler Village with a guided tour and stopovers at Stanley Park, Horseshoe Bay, and Shannon Falls. You will be accompanied by a knowledgeable guide who will provide you with plenty of insights, destination information, and photo opportunities. For more information on the sightseeing tour, go here.
Upper Village
As of this writing, upload to Peak 2 Peak for visitors during the summer season is only available through the Blackcomb Gondolas. The Whistler upload route is reserved for bikes only. Therefore, we need to head over to the Upper Village.
The term “Whistler Village” can get confusing because there are actually three areas: Village Center, Village North, and Upper Village. To access the Blackcomb gondolas, you need to get to the Upper Village.
If you take the bus or shuttles, you will be dropped off at the terminal at the Village Center. From there go east on Village Gate Blvd. to get to parking lot #2 and follow the instructions below.
If you are driving, park at lots # 1 to 5. Note that lots #1 and #2 are closest to the entrance to the trail.
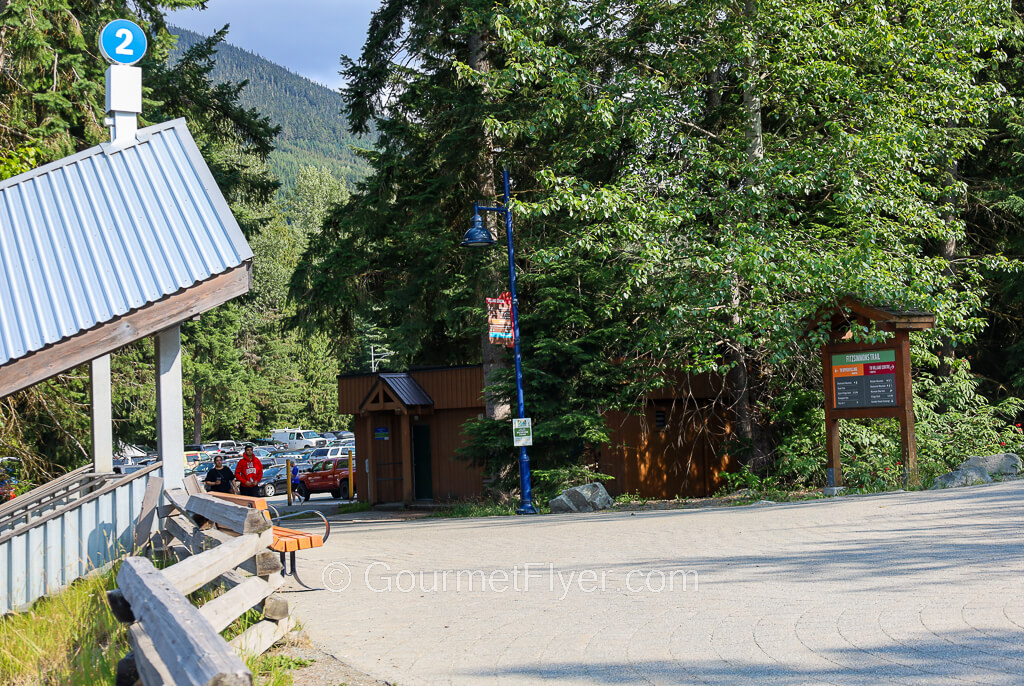
Either way, you will go east on Valley Trail right next to the parking lot 2 sign as shown in the picture above.

Cross the Fitzsimmons Bridge as shown above. It is interesting to note that the Fitzsimmons Creek below collects water from the Blackcomb and Whistler Mountains. The creek and its overflow channels help protect the village from flooding during times of heavy rainfall or snowmelt.
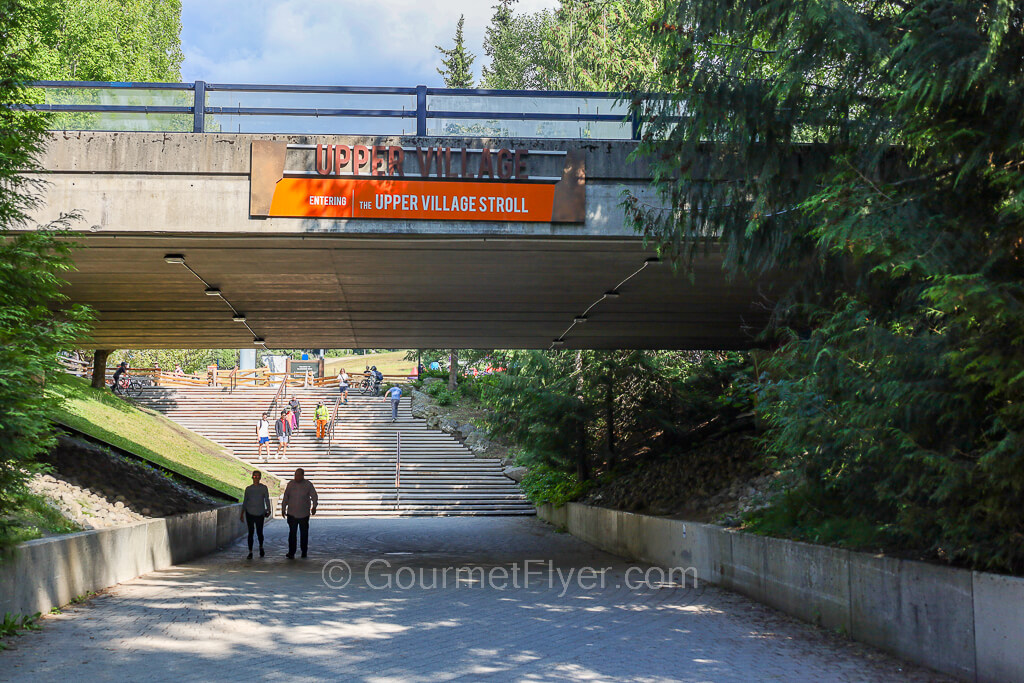
Veer right and you will see the Upper Village sign. Walk up the stairs and you are there!
Upload
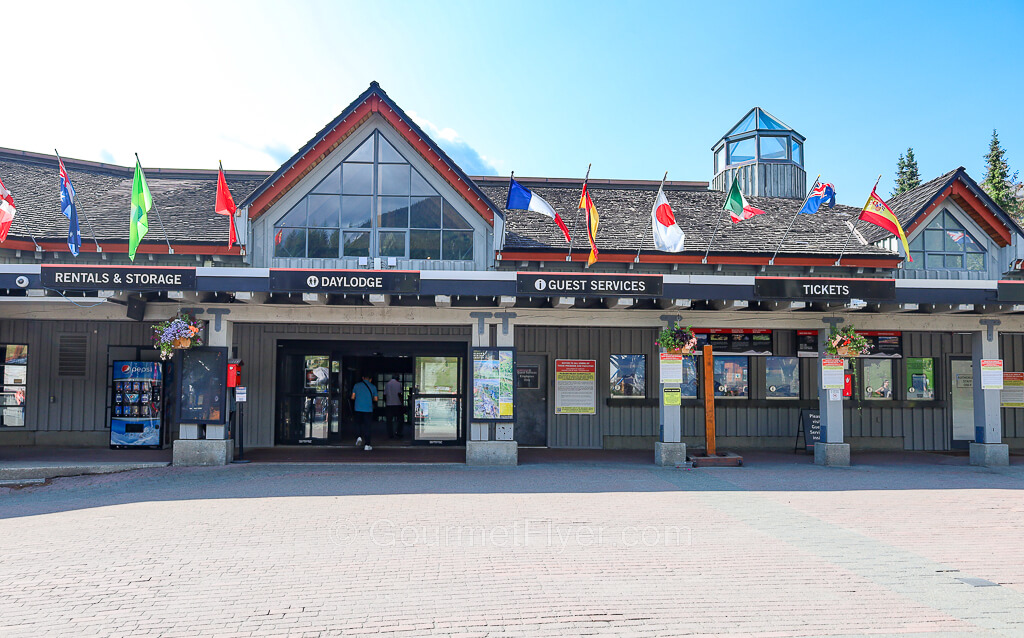
Your first stop is the Daylodge, where you will buy your 360 Sightsee tickets. If you’ve purchased advance tickets online, there is an express line for pickups. There is also a cafeteria if you need to grab some food or bottled water for your journey. But rest assured that there are cafes and restaurants at every stop of the way, so you won’t go hungry there.
Your summer 360 Sightsee tickets include all of the following:
- Upload via the Blackcomb Gondola once
- Peak 2 Peak Gondola (unlimited times)
- Roundtrip Peak Express chairlifts to the Cloudraker suspension bridge
- Download via either the Whistler or Blackcomb Gondolas once.

Once you have your tickets and are ready to go, head to the line and enjoy your ride!
Peak 2 Peak
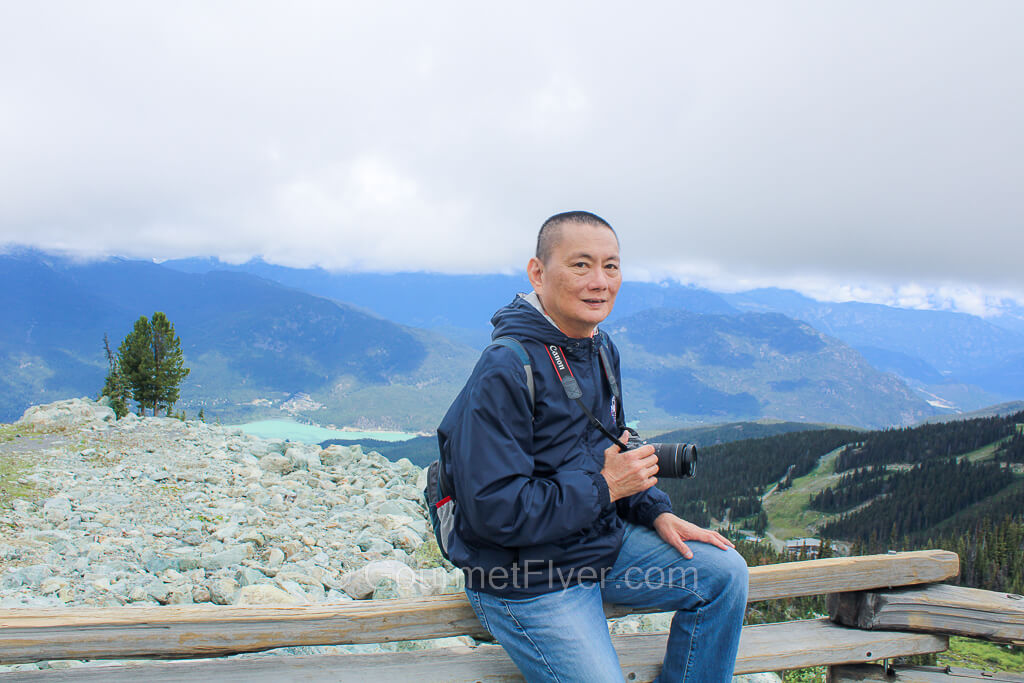
Once you disembark from the Blackcomb station, take a moment to enjoy the gorgeous view. Whether it is spring, summer, fall, or winter, the mountains here are majestic and have their distinct flavors every season. Note that even in the middle of summer, it can get quite chilly up here so please bring a jacket. The general guidelines are that the mountain peak could be about 10 to 15 degrees cooler than in the village.
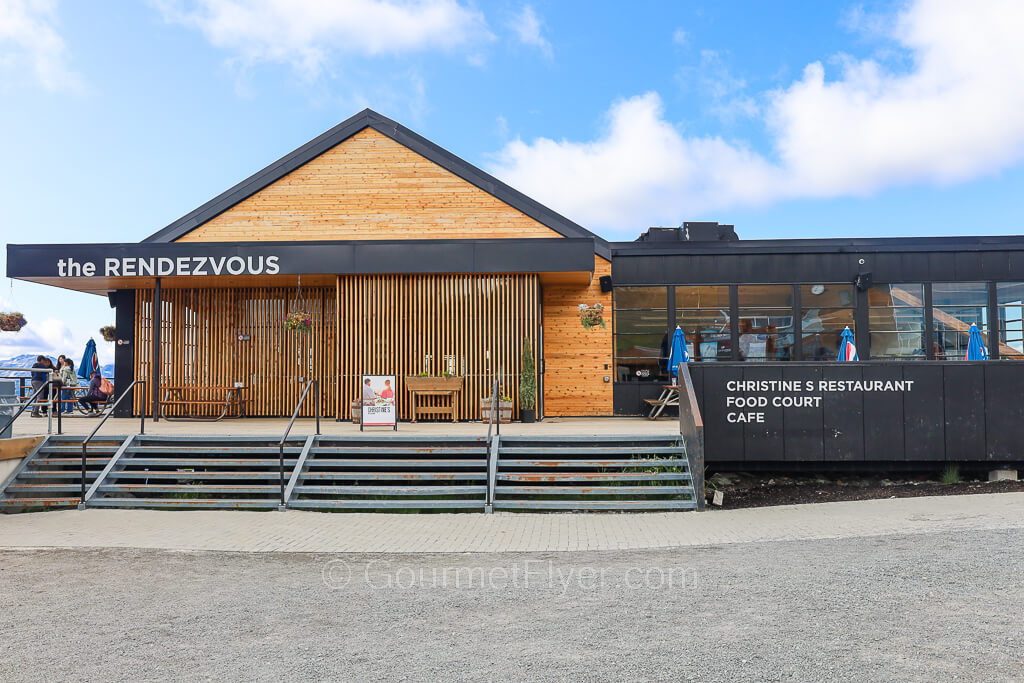
The Rendezvous Lodge has a restaurant as well as a café if you need food. Restrooms are also located inside the same building.
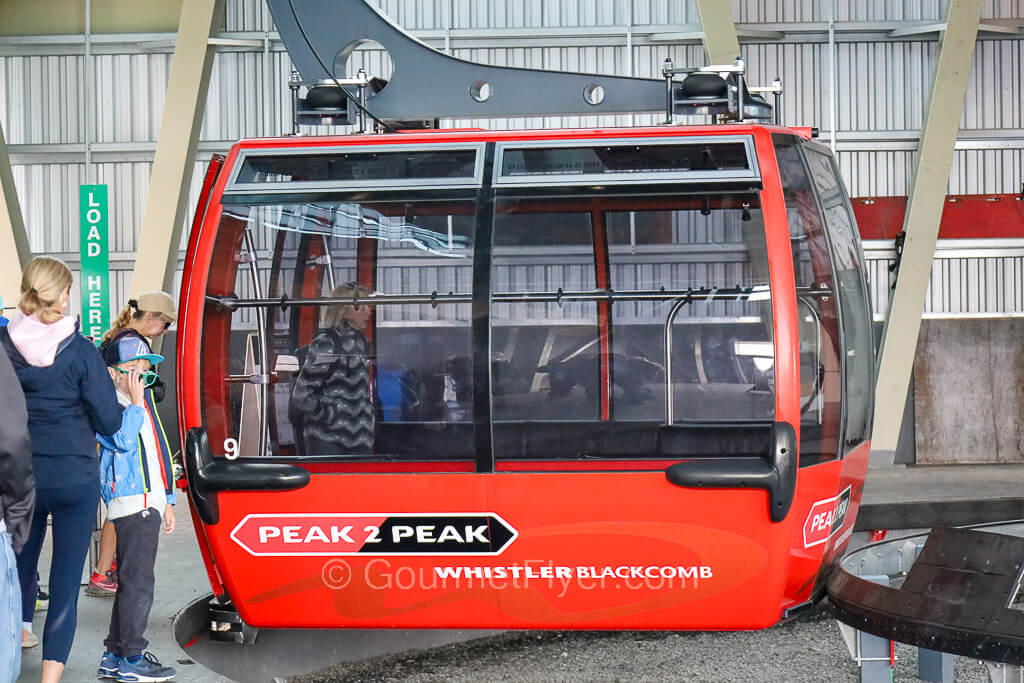
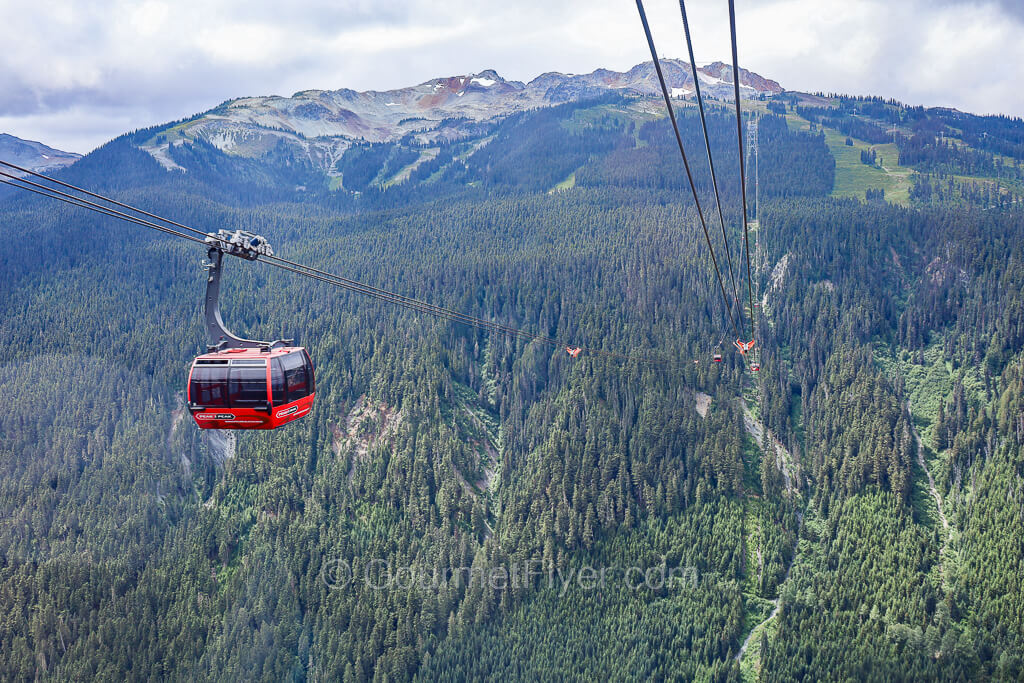
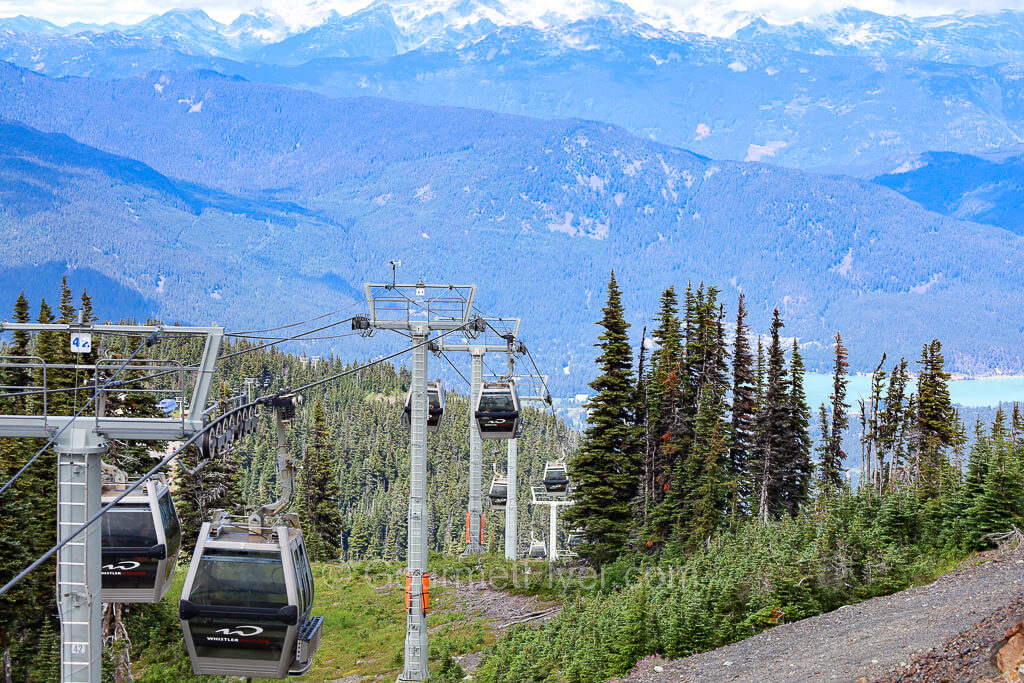
Once you are ready to go, head to the Peak 2 Peak station. You will soon be traveling in the World’s highest lift connecting the Blackcomb and Whistler Mountains. The most astonishing fact is that the lifts go a jaw-dropping 1.88 miles between the mountains with no support in between. (The entire distance is about 2.7 miles.)
Note that there are two lines there – the regular line and the line for the glass bottom gondola. You will observe that the glass bottom line is much longer and also moves much slower. That is because only about one in five cars have a glass bottom (these are the blue cars.)
TIP: You can go to the shorter and quicker line and ride the regular car first and take the glass bottom one back. A little-known fact is that there are no limits on the number of times you can ride the Peak 2 Peak gondolas and you can go back and forth as many times as you like. There is usually a very short line, or even no line if early in the morning, to ride the glass bottom car back to Blackcomb.
Whistler Mountain
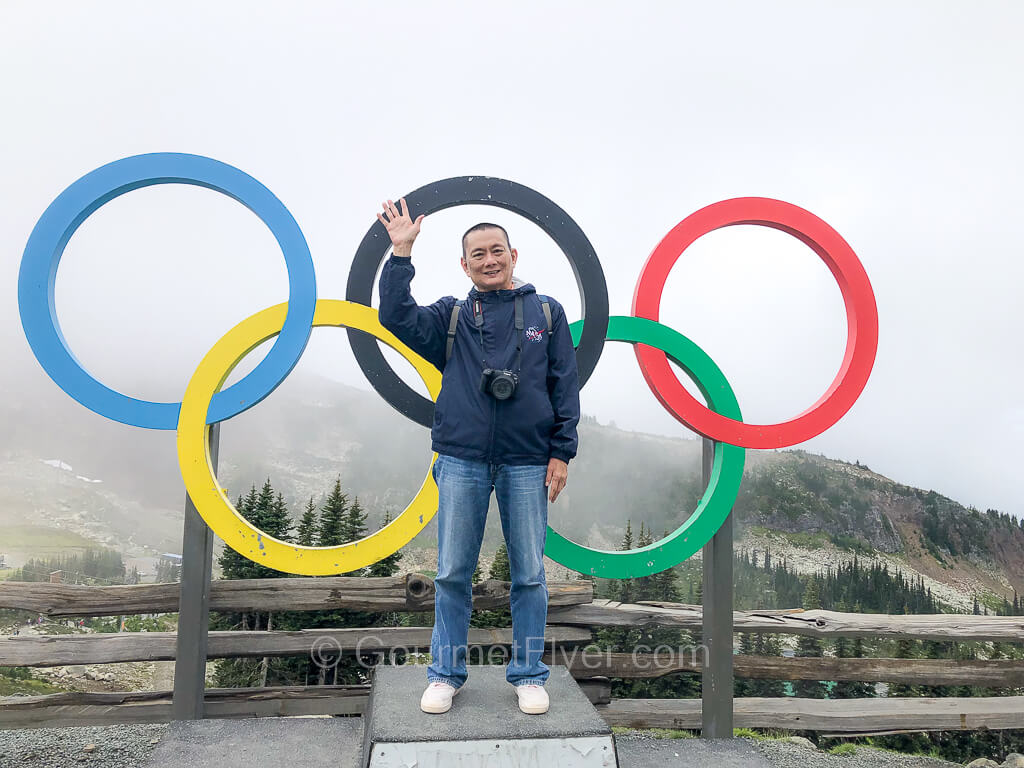
You’ll disembark from the station into a wonderland of breathtaking scenery. There are many things to do and numerous photo spots, among them is the Olympics rings and podium. When I was there many people were lining up to have their pictures taken, so patience is needed. But the crowd was mostly courteous and friendly, and everyone waited for their turn.

The Roundhouse Lodge has a gift shop, coffee bar, and cafeteria as well as restrooms. There is a spacious outdoor dining area that offers spectacular views. This is the ideal place to grab some lunch and recharge your energy to get ready for the journey to the suspension bridge.
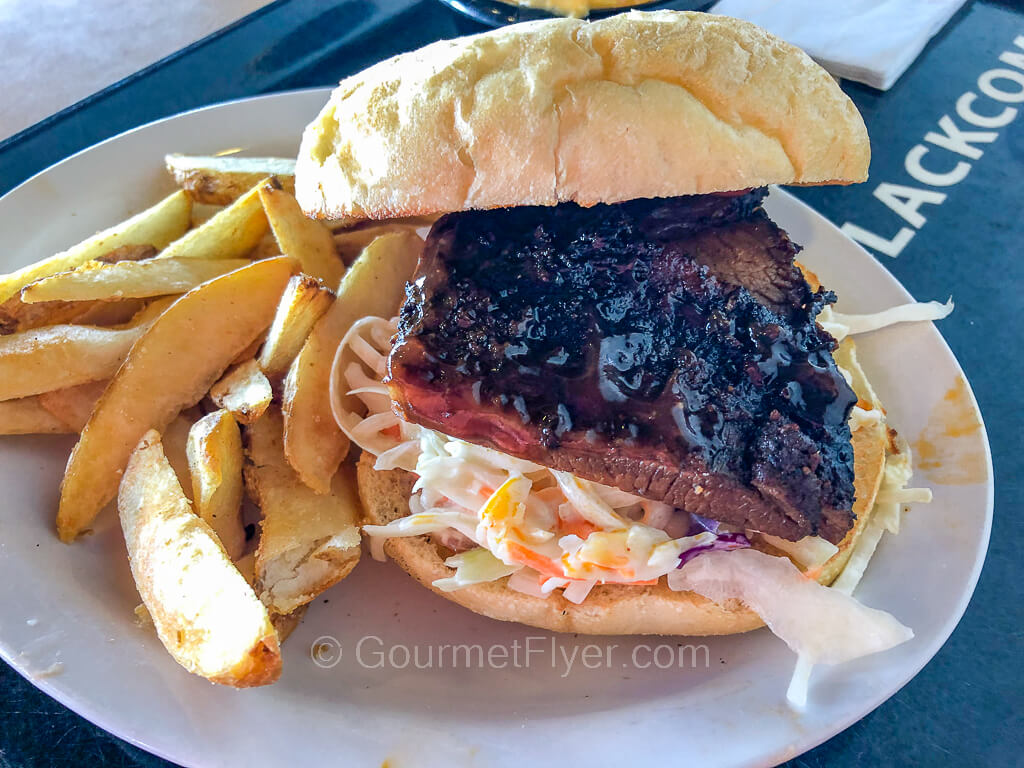
The food at the cafeteria was good. They had a BBQ station which drew a long line when I was there, so I had to check it out. I had a BBQ tri-tip sandwich which was served on a bed of tangy coleslaw that was delicious. The BBQ sauce had a mild smokey flavor and was not too sweet, which suited my palate well.
Cloudraker Skybridge
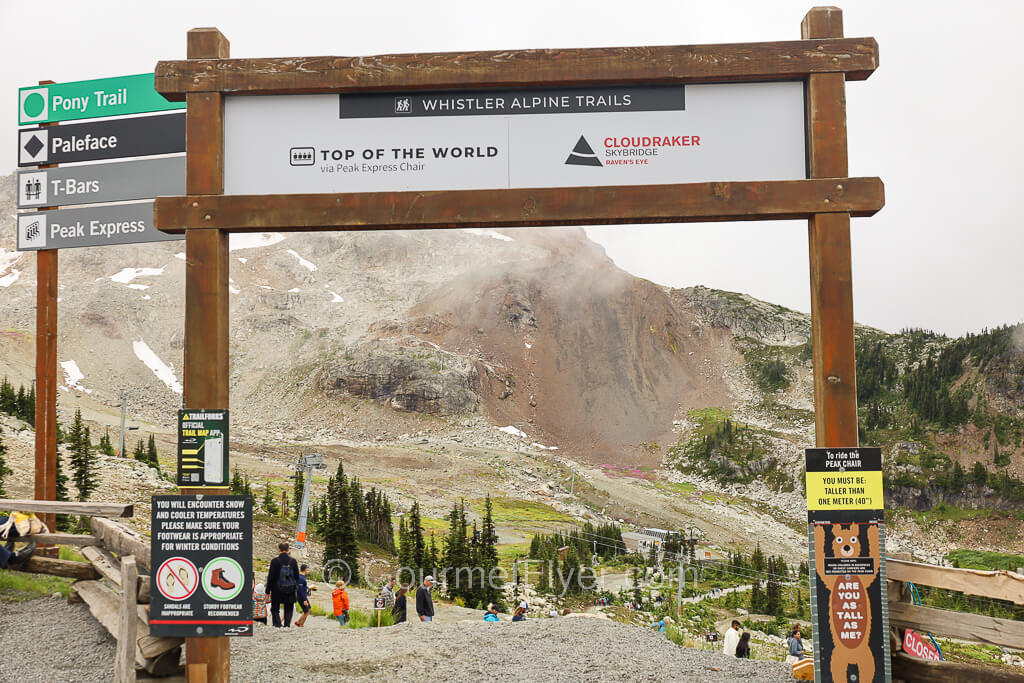
The path to the Peak Express chairlifts which take you to the suspension bridge is clearly marked as shown in the picture above. The 10 to 15-minute walk to the lifts isn’t bad because you are going downhill all the way. However, your return trip will be uphill, and a moderate degree of fitness is needed for this hike.

The picture above shows you what your journey to the top of the mountain looks like. You can actually see the suspension bridge there.
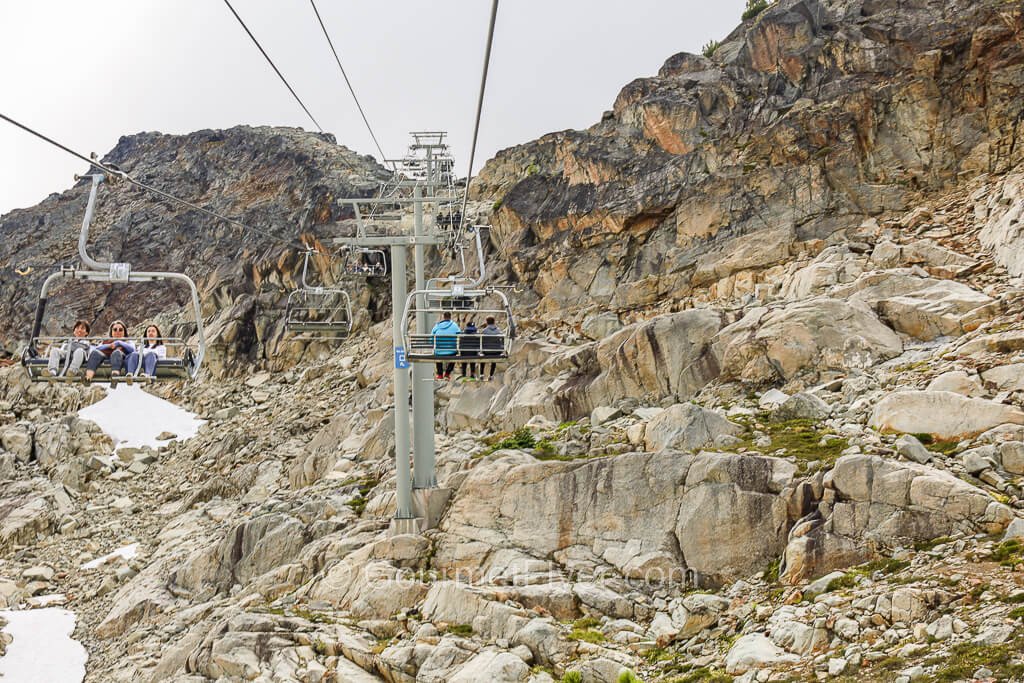
The initial climb is not bad at all, but as the lift gets near to the hill, the path gets progressively steeper, and it will begin to feel adventurous. YAY!
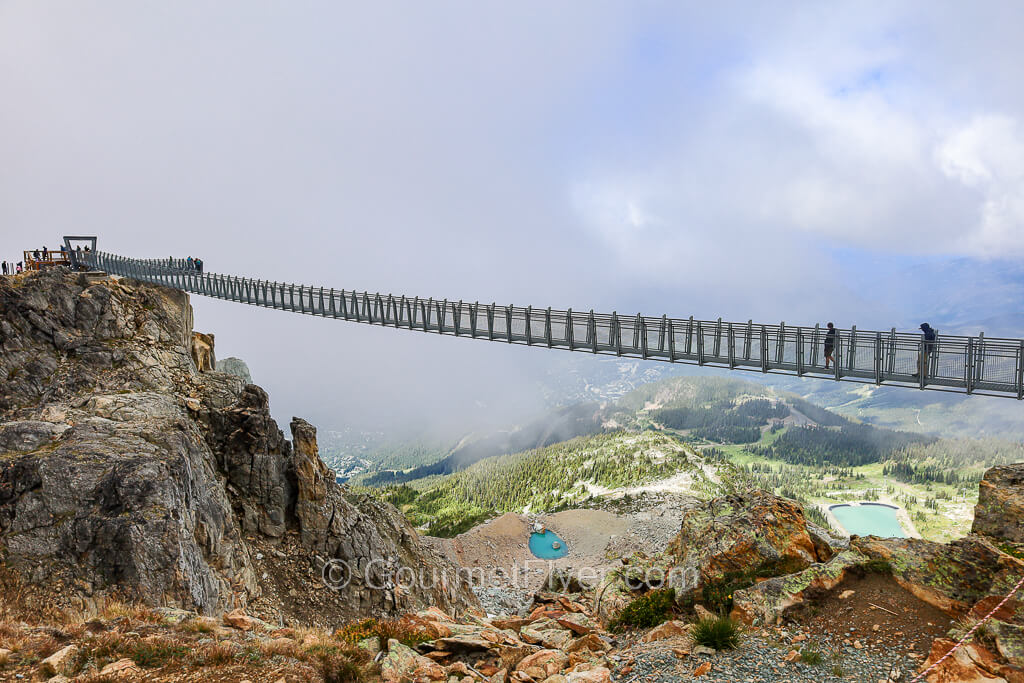
So, you’ve finally arrived at the World famous Cloudraker Skybridge and all you need now is to gather enough courage to walk across it. It is extremely sturdy but when there are a lot of people on it, it does sway quite a bit. But no worries! The fences on both sides are shoulder high and should give you some assurance. Note that the bridge is supposed to be one way, so once you get to the other side, please take the trail back to the lifts.
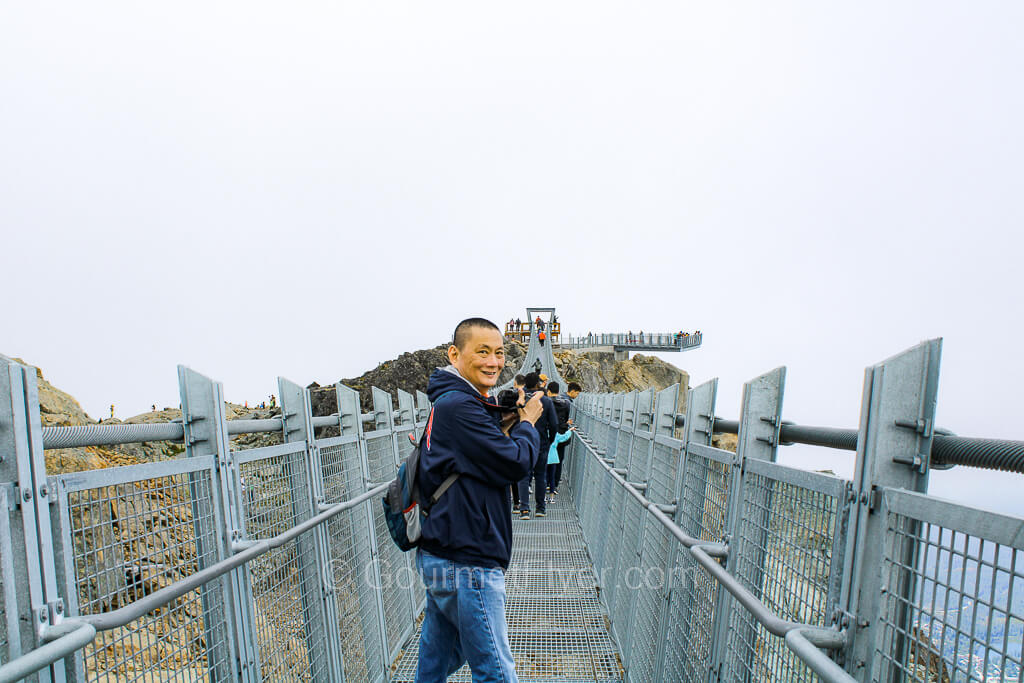
And don’t forget to get a picture of yourself taken!
Download
You have two options for downloading. The most popular way is to take the Whitler Gondola to the Village Center. Its entrance is just next to the Roundhouse Lodge, and you cannot miss it.
As I mentioned earlier, there are no limits on the number of times you can ride the Peak 2 Peak Gondolas and one tip to get on the glass bottom one is to ride it on the way back to Blackcomb because not too many people go that direction, and the line is a lot shorter. If you go this way, then you will take the same Blackcomb Gondola back to the Upper Village.
Note that the three areas of the village – center, north, and upper – are all within short walking distance of each other. No matter where you download to, you can easily explore the village on foot and enjoy the dozens of shops, cafes, bakeries, restaurants, and bars. All 3 areas are also within short walking distance to the bus terminal if you need to catch a bus back to Vancouver.
Optional Adventures
If a steep chairlift ride and a trip across the suspension bridge is not exciting enough for you, then maybe you will want to consider the Zipline Adventure which lets you cruise above white water rivers and alpine forests. You have a choice of two routes, one for beginners and families, and one for the more experienced adventurer seeking a thrill ride. Each route consists of 5 ziplines and 4 treetop bridges.
A harness, helmet, professional guides, and roundtrip transportations from/to Whistler Village (the starting point) are all included.
Another exhilarating and fun ride is the Summer Bobsleigh. This Olympics sport is available to the public at very few places. But lucky you! You are right here in town, where the Whistler Sliding Center is the only track in Canada to offer this thrill ride. You will be traveling at a speed up to 90 km/hr (or 56 mph) in an experience that you will never forget. If you are seeking the ultimate adrenaline rush, this might be it!
You will be riding with a professional pilot, so no experience is required. One youth (age 12 – 18) gets to ride free with each paying adult.
Conclusion
I hope this article gives you a clear and complete guide to exploring the trio of gondolas and their surrounding attractions on your one day to Whistler itinerary. One of my goals is to provide my readers with a step-by-step guide to experience the Peak 2 Peak journey with the ultimate thrill of crossing the Cloudraker suspension bridge. I hope I have achieved that goal and my instructions are clear and my photos are helpful. But most importantly, I hope my documentary provides an inspiration for you to travel – whether it is to discover Whistler in Summer or just to get out of your comfort zone and start seeing any parts of the World where you’ve never been to.